Now more and more people are aware of the importance of backup. Meanwhile, more and more people consider the problem that how to transfer important data from their phone to computer or Mac so that they can have a backup. Back up the numerous data on the phone seems to be a energy-consuming as well as time-consuming process. But with the help of the right data backup software and right operation, data backup is just a piece of cake! And here, I am going to introduce two ways of backing up data from iPhone 7 and iPhone 7 Plus to computer or Mac with two different softwares, they are iOS Data Recovery and Phone Transfer. They are both equipped with the function of data backup. They are both enjoy high popularity and evaluation on the market and stand out among so many similar softwares because the rate of success is high. In addition, they share the same feature that intuitive process. Only three steps in all!
First of all, click the below button to download the iOS Data Recovery or iOS Data Recovery for Mac on your computer, and install it.


Step 1. Connect iPhone 7 or iPhone 7 Plus to Compute/Mac
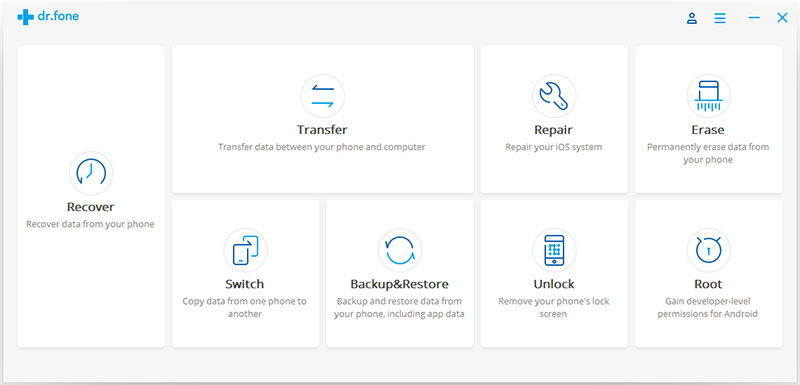
Run iOS Data Recovery on your compute/Mac and you can see the primary window. Then go to “More Tools” and you can see five options here. Select “Device Data Backup & Restore” option from the tool list. Next, take out a USB cable and use it to connect your iPhone 7 or iPhone 7 Plus to your compute so that the program can detect your device.
Step 2. Select File Types to Backup
After your device is detected by iOS Data Recovery, it will automatically scan all the data on your device and display them on the window. You should select what you want to back up and then click on the “Backup” button.
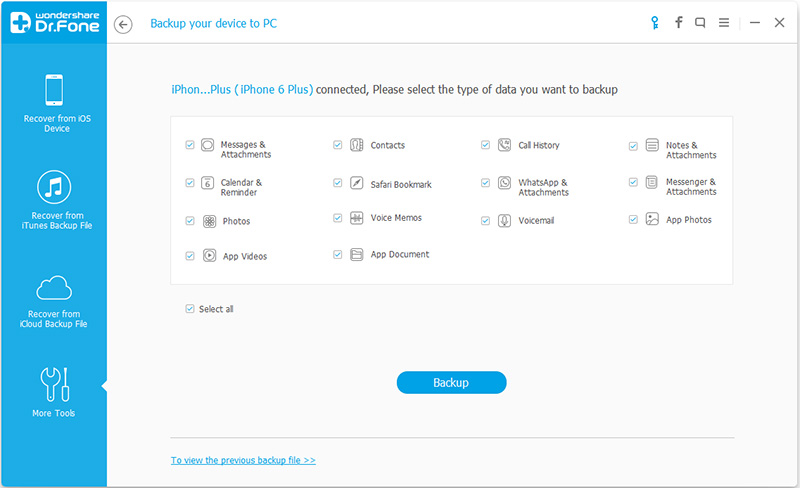
Tips: There is a option on the bottom that “To view the previous backup file>>”. If you want to view the previous backup file list, the button is of use to you.

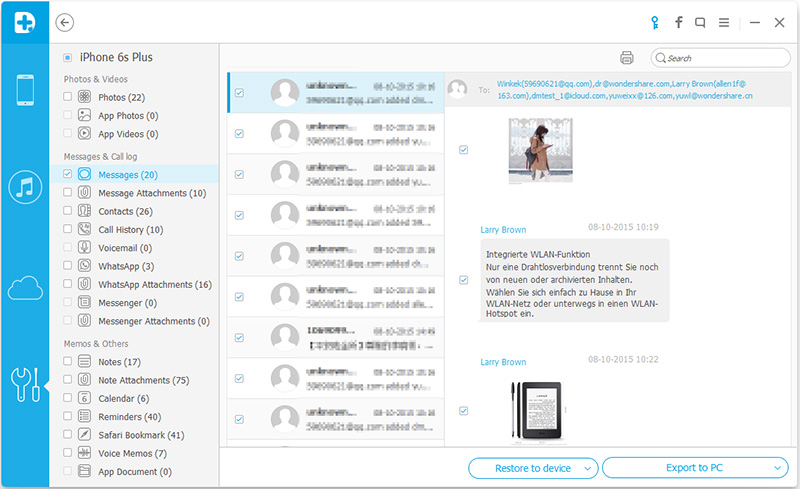
Step 3. Check Your Backup File on Computer
When the backup process is completed, please choose whatever you wanted, and simple press “Export to PC” to sync the selected data to PC. If done, you can check your backup file on the Windows PC or Mac. When you delete important data in the future, the backup would be great use!
Similarly, click to download the Phone Transfer or Phone Transfer for Mac and install it on your computer first.
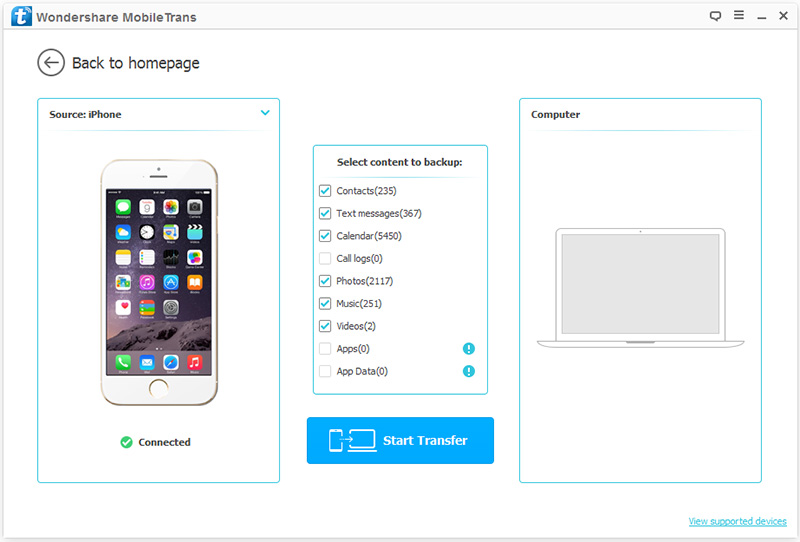
Step 1. Connect Your iPhone to the Computer
Run the application and then connect your iPhone 7 or iPhone 7 Plus to your computer by using USB cables. Then look at the primary window. Select “Back Up Your Phone” and then you can see the next window.

With iOS Data Manager, backup data will be easy. Once you use it, you will realize its charm and it will become an indispensable tool for you.
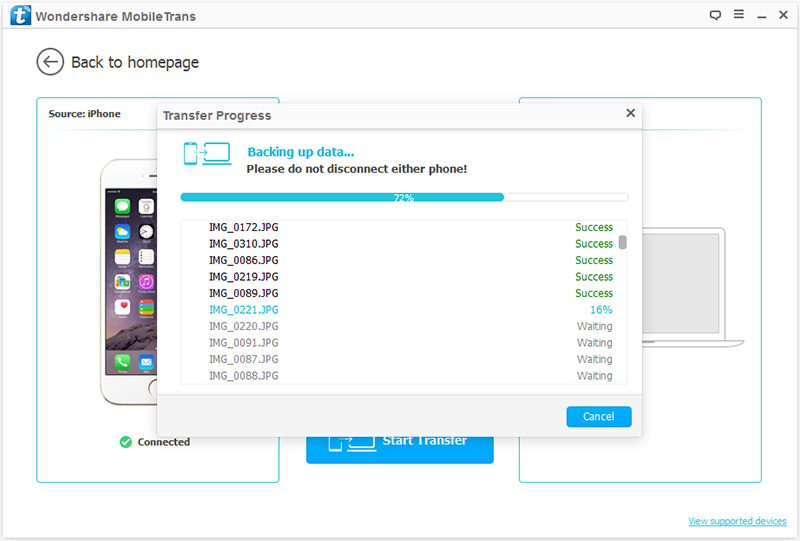
Step 2. Choose the File You Liked and Start to Backup
All the file types that can be backed up are listed between the icons of your iPhone 7 and PC. Choose file types that needed to back up such as cintacts, text messages, photos and videos. Then click on the “Start Transfer” to start the backup. It will pop up a minor window which shows you the progress bar so that you can know the progress.
Step 3. Check Your Backup File
Wait for a few minutes till the backup is completed. And then you can access the backup and check if all you need are there. If you can’t find the backup, you can look for the help of “Setting” which you can not only find the path of preserving the backup, also you can change it!